

Exterior Door Installation: How It Works, What to Expect, and Why Details Matter
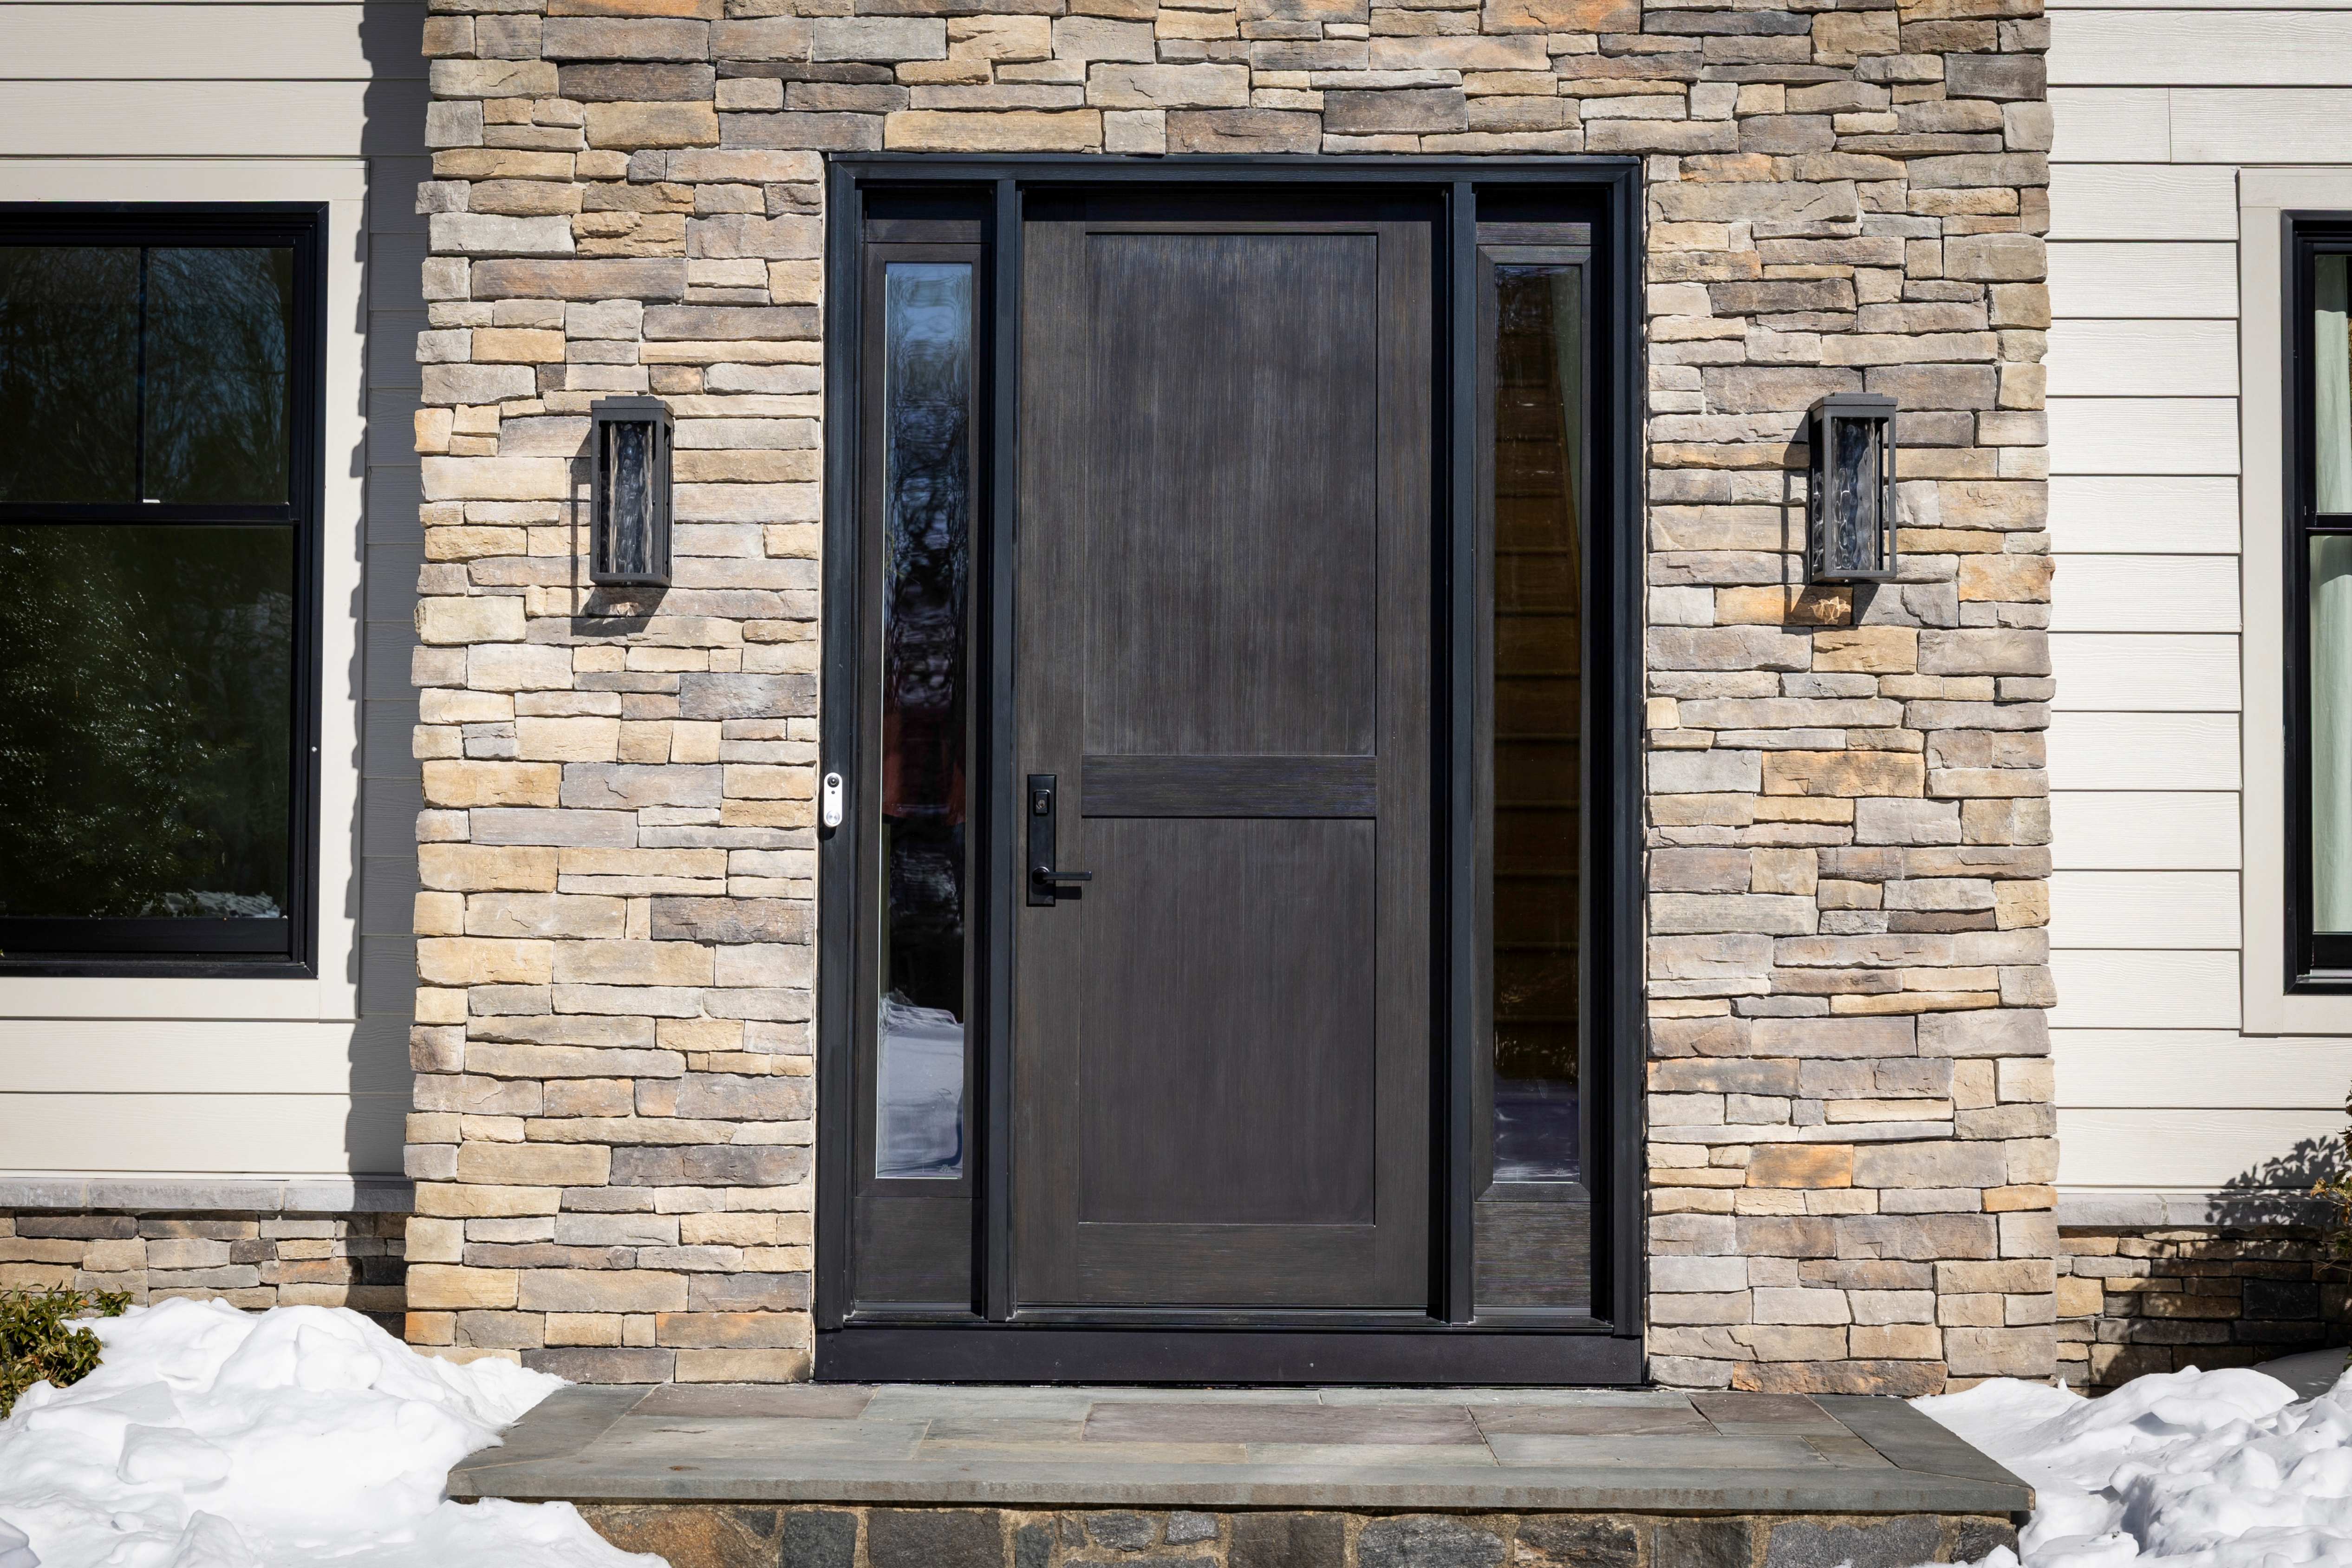

Exterior door installation sets a new door so it is plumb, level, square, flashed against water, insulated, and sealed. A standard prehung replacement is often finished in a few hours to a day, and longer if the frame, sidelights, or trim need repair. The quality of the result depends less on the door itself than on accurate measuring, proper flashing, careful shimming, and correct adjustment of the seals and threshold.
Types of Door Installation
- Prehung door installation. The door arrives already hung in a new frame with hinges, weatherstripping, and a threshold attached. The entire unit is set into the opening. This is the most common approach and gives the most reliable seal.
- Slab door installation. Only the door itself is replaced and hung in the existing frame. It works when the frame is square and solid and the hinge and lock locations match, but it cannot correct frame problems.
- Full frame replacement. The old door, frame, and trim are removed down to the rough opening so the installer can repair rot, replace flashing, and set a completely new unit.
- Patio, sliding, and French doors. These follow similar principles but add details such as larger openings, track or multi point hardware, and special attention to the threshold and deck connection.
Prehung vs. Slab: Which Do You Need?
How Professional Door Installation Works
Step 1: Measure and Order
Accurate measurement is the foundation of a good installation. The installer records the width and height of the rough opening, the wall thickness and jamb depth, the door swing direction, and the type of sill or threshold. Ordering the wrong hand, size, or jamb depth is one of the most common causes of problems.
Step 2: Remove the Old Door and Inspect
The old door, frame, and trim are removed carefully. This is the moment when hidden problems show up, such as rot in the sill, damaged framing, or failed flashing, and they should be repaired before the new door goes in.
Step 3: Prepare the Opening
The opening is cleaned and checked for level and plumb. Flashing, a sill pan, and sealant are installed to direct any water that gets behind the door back outside. This step is critical, because a door without proper sill flashing can leak into the wall for years before anyone notices.
Step 4: Set the Door Unit
The new unit is placed in the opening and adjusted until it is plumb, level, and square. Shims are placed at the hinges and strike location and along the jamb so the frame stays straight and the door swings evenly.
Step 5: Fasten the Frame
The frame is fastened through the shims into the wall framing. Hinge screws are driven into the framing so the weight of the door is supported properly and the door does not sag over time.
Step 6: Insulate and Seal
The gap between the frame and the wall is filled with low expansion foam made for doors or with insulation, so the frame does not bow. Exterior trim is installed and sealed with caulk to block water.
Step 7: Install and Adjust the Threshold and Sweep
The threshold is set and adjusted so the door seals evenly along the bottom. The sweep or seal contacts the threshold without dragging.
Step 8: Install Hardware
The lockset, deadbolt, and strike plate are installed and aligned so the door latches smoothly. Long screws in the strike plate and hinges add strength and security.
Step 9: Trim, Paint, and Finish
Interior and exterior trim is completed, nail holes are filled, and any painting or staining is done. Wood and fiberglass doors need every edge sealed, including the top and bottom, to protect against moisture.
Step 10: Test and Adjust
The door should open and close smoothly, latch without force, show even gaps around the edges, and let in no daylight or drafts. Final adjustments are made until it performs properly.
Common Door Installation Mistakes
- Measuring incorrectly or ordering the wrong swing. This leads to returns, delays, and poor fit.
- Skipping sill pan flashing. Water that reaches the sill without a path out can rot the framing.
- Using too much expanding foam. Overfilled gaps can push the frame inward and cause the door to bind.
- Poor shimming. Without solid support at the hinges and strike, the door can sag, stick, or fail to latch.
- Failing to seal all edges. Unsealed top and bottom edges can absorb moisture and cause swelling or rot.
- Not adjusting the threshold. A threshold set too high drags on the sweep, and one set too low leaves a gap.
- Forcing the door into an out of square opening. The opening should be corrected rather than forcing the door to fit.
Should You Install a Door Yourself?
A confident DIYer with the right tools can install a prehung door, but it is demanding work. Exterior doors are heavy, the opening must be carefully prepared, and the flashing and sealing details are easy to get wrong. Mistakes often do not appear until the first heavy rain or cold snap. Many manufacturer warranties also require proper installation, so review the terms before you decide. For many homeowners, a professional installation is the safer way to protect the investment.
Preparing for Installation Day
- Clear the area around the door inside and outside
- Move furniture and protect floors near the entry
- Plan for the opening to be unavailable for part of the day
- Secure pets and let the installer know about any alarms or smart locks
- Decide on paint, stain, and hardware finishes ahead of time
- Ask about lead time, since custom doors can take weeks to arrive
- Check whether your municipality requires a permit, particularly if the opening size is changing
How Long Does Door Installation Take?
A standard prehung replacement is often completed in a single day. Installations that include sidelights, transoms, frame repair, structural changes, or custom finishes can take longer. Weather, hidden damage, and the complexity of the opening all affect the schedule.
Frequently Asked Questions
How long does it take to install an exterior door? A standard prehung door is often installed in a few hours to a day, while complex installations can take longer.
Can I replace just the door and keep the frame? Yes, if the frame is square, solid, and dry. If the frame is damaged or the door is drafty, a prehung unit is usually the better choice.
Do I need a permit to install a new front door? It depends on your municipality. A like for like replacement often does not require one, but changes to the opening size may. Check with your local building department.
What is the difference between prehung and slab doors? A slab is just the door. A prehung door includes the door, frame, hinges, and weatherstripping as a complete unit.
How do I know if my door was installed correctly? It should close smoothly, latch without force, show even gaps around the edges, and let in no daylight or drafts.
Get Your Door Installed Right
Door installation is a detail oriented job where small mistakes can cause big problems later. Founded in 1970, Volpe Enterprises helps homeowners across Montgomery County, including North Wales, Norristown, and Malvern, choose and install exterior doors that operate smoothly and seal tight.
Request a free door estimate today.