

Expert Guide: Exterior Door Installation Tips

Exterior door installation is a careful, practical project that can improve curb appeal, comfort, security, and weather protection when it is done correctly. This guide walks through measuring, preparing the opening, fitting a prehung unit, fastening, sealing, and finishing so you understand not just the steps, but why each one matters. If you are replacing a damaged frame or installing a front door before a sale or seasonal weather shift, take your time at the preparation stage; most door problems start there.
What should you check before removing the old door?
Before removing anything, confirm the new door size, swing direction, wall depth, and condition of the existing frame area. Exterior doors protect against wind, water, temperature changes, and daily use, so a rushed installation can lead to drafts, leaks, sticking, or hardware that never lines up quite right.
Start by deciding whether you are replacing only the slab or using a prehung unit. For most DIY exterior door installation projects, a prehung exterior door is the simpler and more reliable choice because the slab, hinges, and jamb are already aligned. If the current jamb is rotten, out of square, damaged, or poorly sealed, plan to replace exterior door frame components rather than trying to hide the problem with trim.
You should also check local requirements before beginning. Some areas have rules for energy performance, impact-rated doors, fire separation, landing height, or hurricane-resistant fastening. Manufacturer instructions matter too, especially for warranty coverage and the correct placement of fasteners, flashing, sealant, and hardware.
Gather the right tools and materials
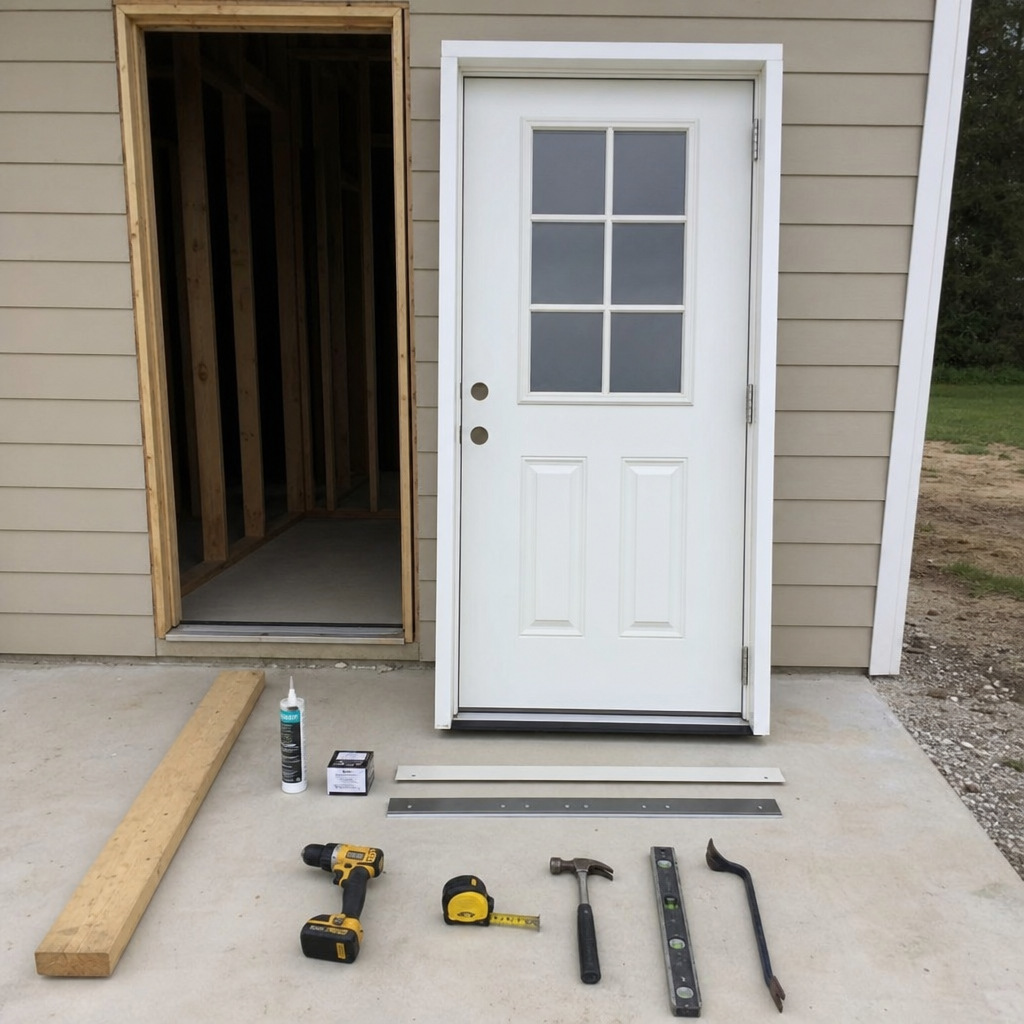
The best way to make installing a front door less stressful is to stage everything before the old door is out. Once the opening is exposed, you want to move steadily so the home is not left vulnerable to weather or security issues.
Useful tools and supplies include:
- Tape measure for checking the unit, rough opening, and jamb depth
- 2-foot and 4-foot or 6-foot levels for plumb and square checks
- Drill and driver bits for screws and hardware
- Pry bar, hammer, and utility knife for removing trim and old framing parts
- Shims for adjusting the jamb evenly
- Caulking gun and high-quality exterior sealant
- Sill pan or sill flashing system for water management
- Low-expansion spray foam or fiberglass insulation for side gaps
- Reciprocating saw, oscillating tool, or handsaw for stubborn nails and trim cuts
- Safety glasses, gloves, and hearing protection
- Exterior screws recommended by the door manufacturer
It also helps to have a second person available. A prehung exterior door can be heavy and awkward, and small alignment mistakes are easier to catch when one person holds the unit while the other checks level, plumb, and reveal.
Accurate measuring prevents most installation problems
Measure before buying the door, then measure again before demolition. The rough opening should usually be slightly larger than the full prehung door unit so there is room for shims and adjustment. A common allowance is about 1/2 inch wider than the unit, but always follow the door manufacturer’s specifications.
Measure the rough opening width in three places: top, middle, and bottom. Use the smallest width as your working dimension because that is the tightest point the new unit must fit through. Then measure the height from the subfloor or finished threshold area to the top of the rough opening, checking both sides in case the floor or header is uneven.
Do not skip jamb depth. The jamb must match the wall thickness, including interior drywall and exterior sheathing or siding conditions. If the jamb is too narrow or too deep, the trim may not sit properly, and the door may be harder to weatherproof cleanly.
To determine handing and swing direction, stand on the side where the door swings toward you. If the hinges are on the right, it is a right-hand door; if they are on the left, it is a left-hand door. Confirm this before ordering because reversing an entry door is rarely a quick fix.
Remove the old door and inspect the opening
If you are asking, “how do you replace an exterior door,” the real work begins after the old trim comes off. Score caulk lines with a utility knife to avoid tearing paint, siding, or drywall. Remove the interior trim first, then exterior trim or brickmold as needed, and take out fasteners securing the jamb to the framing.
Lift the old unit out carefully. If it resists, look for hidden screws behind weatherstripping or threshold covers before forcing it. Once the opening is clear, inspect the framing, subfloor, sill area, and sheathing for rot, insect damage, cracks, or old water stains.
Any soft or damaged material should be repaired before the new door goes in. A new door installed over a weak sill or rotted jack stud will not stay aligned, and sealant alone will not solve structural damage. This is also the moment to clean debris, old caulk, protruding nails, and uneven high spots from the opening.
How do you install a prehung exterior door?
To install a prehung exterior door, dry fit the unit first, confirm the sill sits evenly, apply the proper sill flashing and sealant, then set the door into the opening, shim it plumb and square, fasten it through the jamb, and test the swing before insulating or trimming. The goal is a door that opens smoothly, closes securely, and has an even reveal around the slab.
Follow this sequence:
- Dry fit the door unit. Place the prehung door into the rough opening without sealant. Check that it fits with room for adjustment and that the sill rests solidly.
- Prepare the sill. Install a sill pan or flashing system according to the product instructions. The sill pan helps direct water out rather than letting it soak into the framing.
- Apply exterior sealant. Run appropriate beads of sealant where the sill and side jambs require it. Avoid random over-caulking that traps water instead of managing it.
- Set the door in place. Tilt the bottom in first, then raise the unit into the opening. Center it so the gaps on both sides are workable.
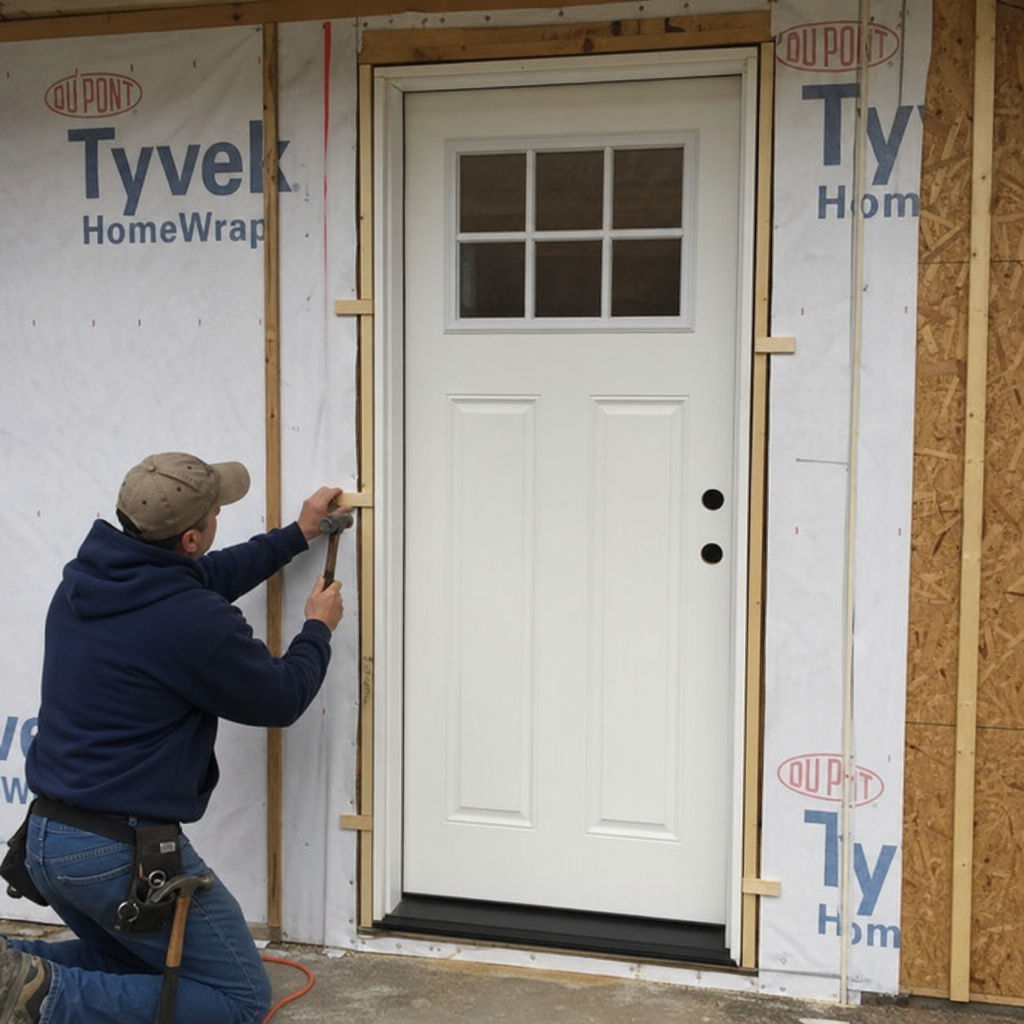
- Shim the hinge side. Place shims behind each hinge location and adjust until the hinge jamb is plumb. This side carries the door’s weight, so it needs firm support.
- Check the reveal. Look at the gap between the door slab and jamb across the top and latch side. It should be even, not tight at one corner and wide at another.
- Fasten gradually. Drive screws through the jamb at manufacturer-approved locations. Do not fully lock everything down until you have tested the swing and latch.
- Shim the latch side. Add shims near the strike area and other fastener points, keeping the jamb straight rather than bowed inward.
- Test operation. Open and close the door several times. Confirm it does not swing by itself, rub the jamb, bounce off weatherstripping, or require lifting to latch.
This is the core of how to install a prehung exterior door, but patience is more important than speed. Tiny adjustments at the shim stage can prevent years of annoyance.
Weatherproofing makes the installation last
A door that looks perfect can still fail if water and air are not controlled. Exterior openings take a beating from rain, wind, sun, and temperature swings, so flashing and sealing deserve as much attention as the door itself.
Use a sill pan or properly integrated sill flashing whenever possible. Dry fit and trim it to the opening, then set it in sealant as directed. The edges should work with the surrounding weather barrier so water is guided outward, not behind siding or into the subfloor.
After the door is fastened and operating correctly, seal the exterior perimeter with compatible exterior caulk. Focus on clean, continuous joints where trim, brickmold, siding, and threshold components meet. Inside the rough opening, insulate the gap between jamb and framing with low-expansion foam or loosely packed fiberglass. Too much expanding foam can bow the jamb and make the door stick.
A simple weatherproofing checklist:
- Sill area is flashed before the door is permanently set
- Sealant is used where the manufacturer specifies, not as a substitute for flashing
- Jamb gaps are insulated without bending the frame
- Exterior trim joints are caulked cleanly
- Weatherstripping touches evenly around the slab
- The threshold is adjusted so it seals without scraping
Install hardware, trim, and finishing details
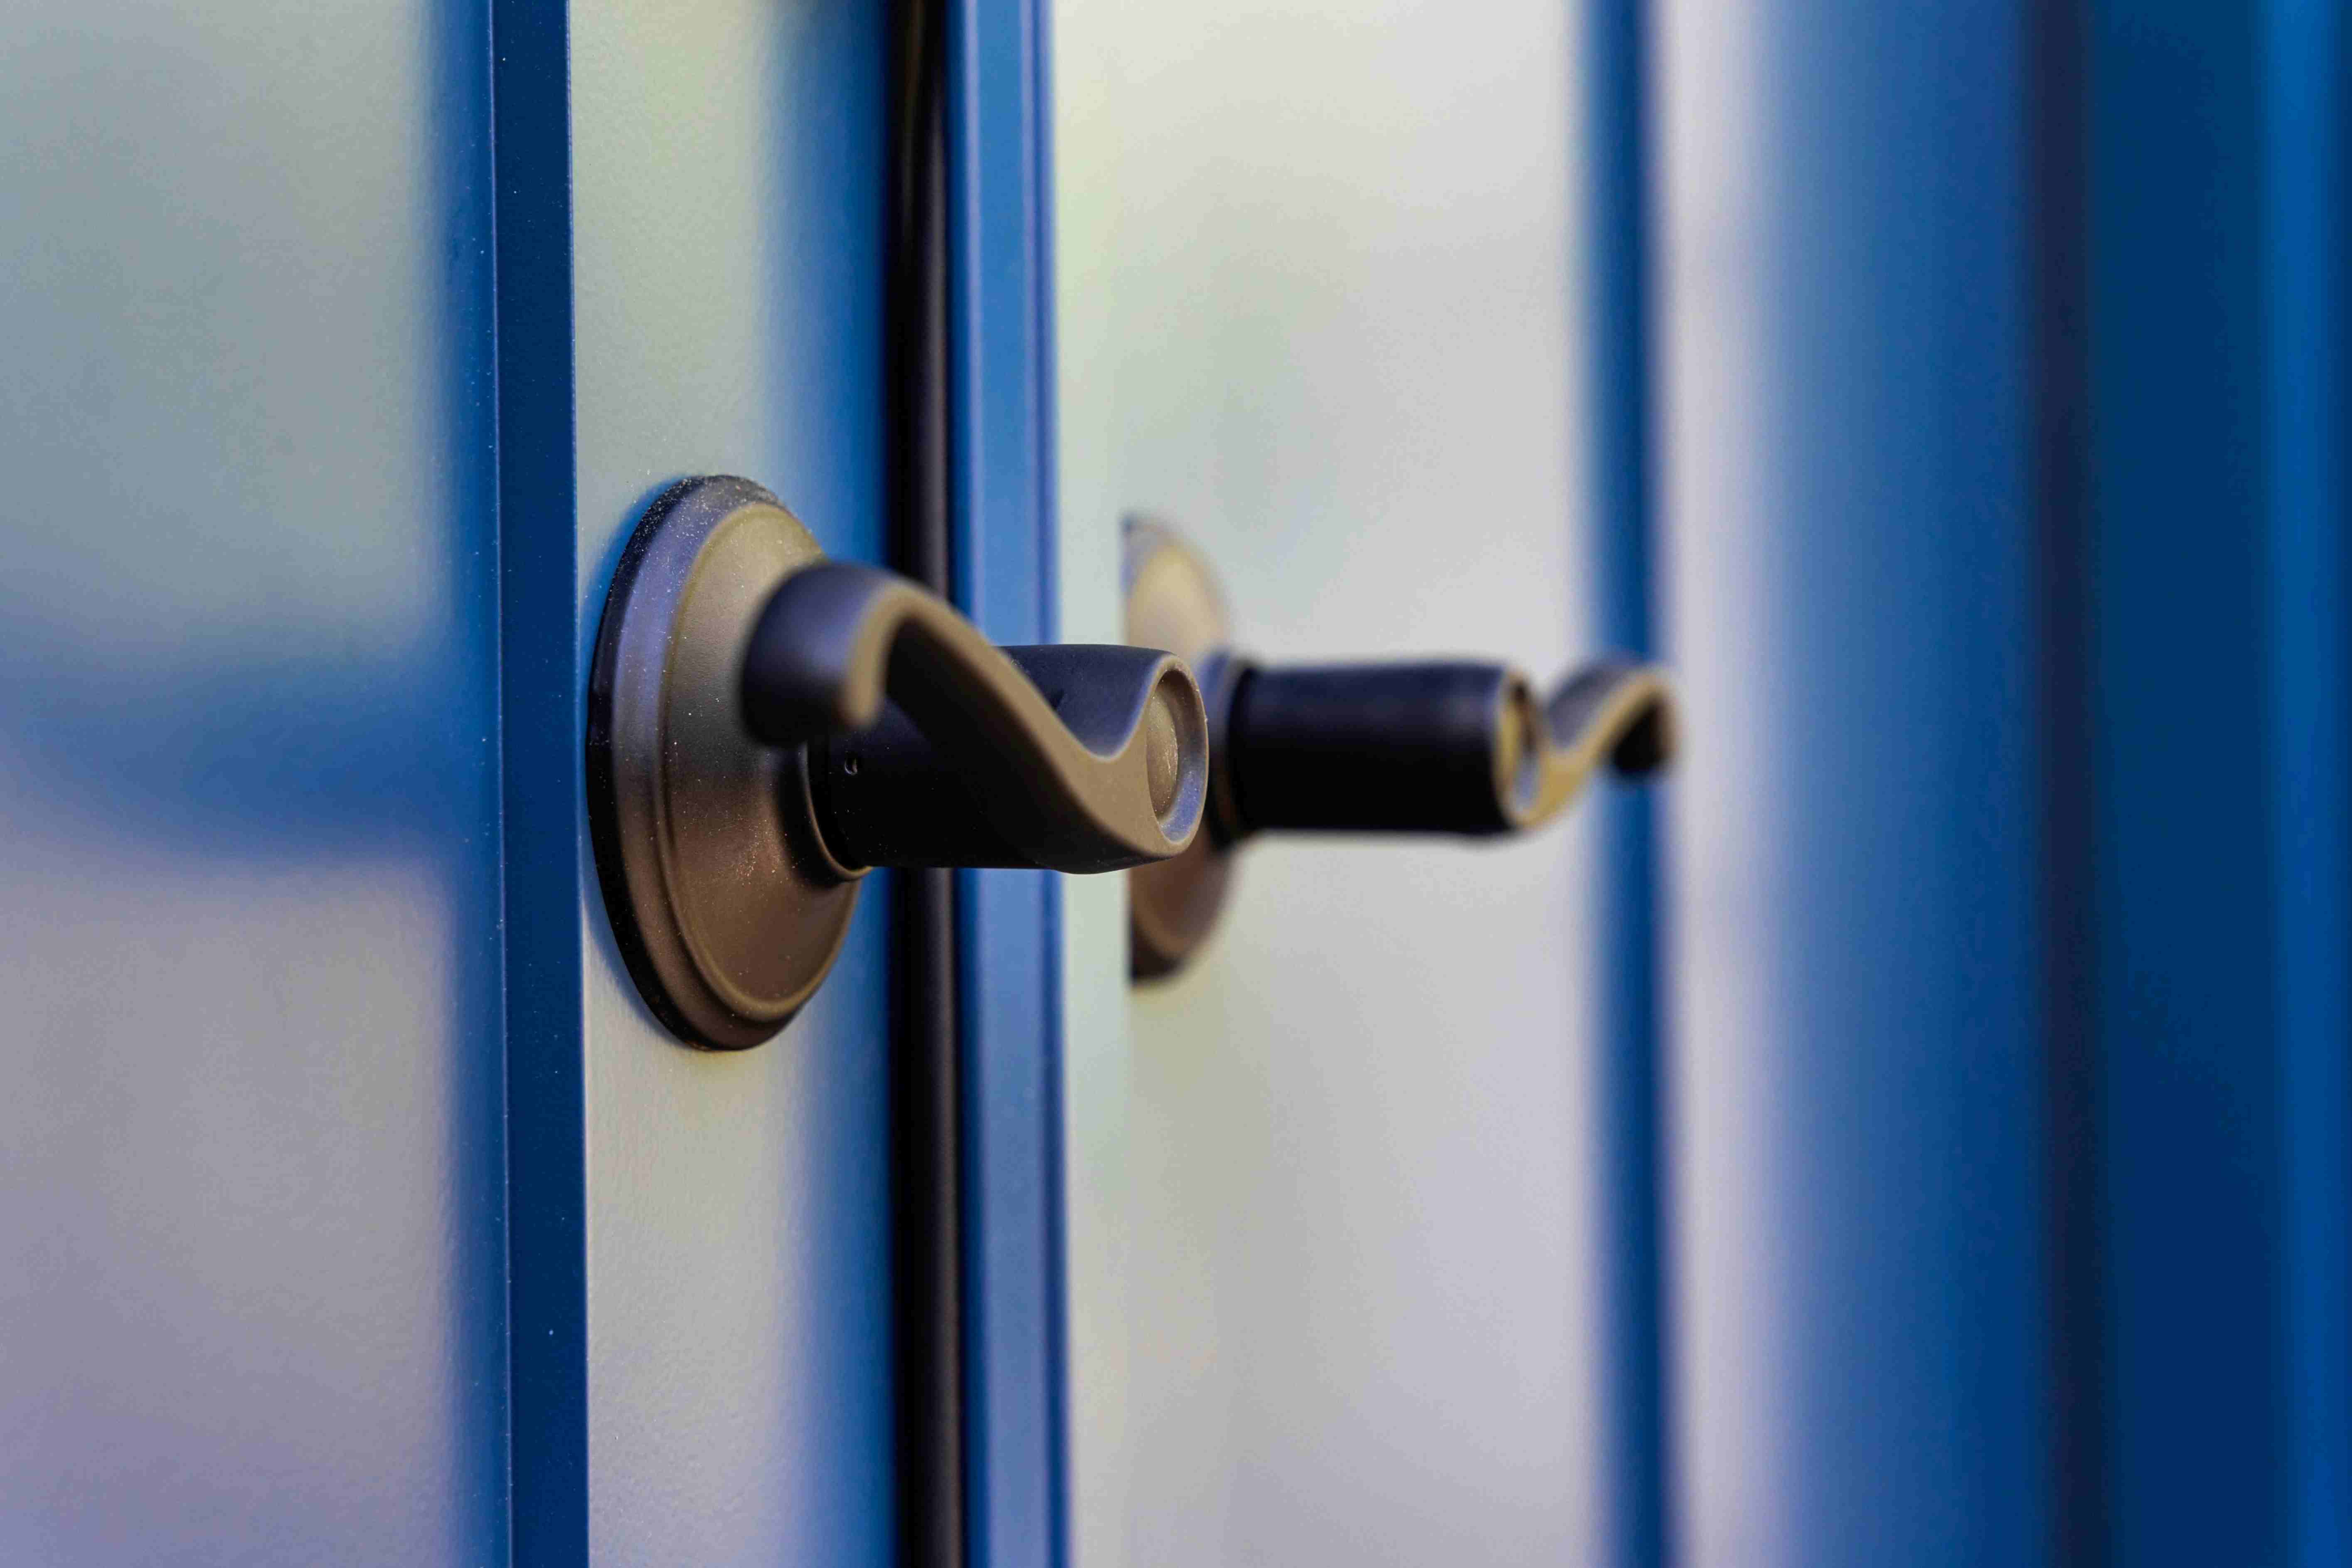
Once the door swings and latches properly, install the lockset, deadbolt, strike plates, and any included hardware. If you are learning how to install entry door hardware, read the lock manufacturer’s template carefully. Misaligned latch holes or strike plates can make a good door feel poorly installed.
Install long screws through the top hinge and strike plate where recommended. These screws can reach framing behind the jamb and improve strength compared with short screws that hold only to the jamb. Do not overtighten hardware, because that can distort components or affect the latch.
Next, reinstall or replace interior and exterior trim. Cut trim neatly, caulk exterior joints, and touch up paint or finish as needed. If the door is wood, make sure all exposed surfaces, including edges, are sealed according to the manufacturer’s directions. Fiberglass and steel doors also need finish care, especially if scratches expose vulnerable surfaces.
Troubleshooting common fit issues
Even careful DIY installers run into small problems. If the door rubs at the top latch-side corner, the hinge jamb may be out of plumb or the unit may be slightly racked. Recheck the hinge-side shims and the diagonal relationship of the frame before trimming the door.
If the door will not latch, the strike plate may be too high, too low, or too deep. First check that the reveal is even and the door is not sagging. Adjust shims before enlarging strike openings, because cutting hardware locations should be a last step, not the first fix.
If you feel drafts, inspect the weatherstripping and threshold contact. The threshold may need adjustment, or the jamb may be bowed from excess foam or overtightened screws. If water appears inside after rain, look closely at the sill pan, exterior caulk, and flashing transitions; water problems usually come from drainage paths, not just visible gaps.
Choosing the right exterior door for your home
Before you focus on how to hang an exterior door, choose a door that suits your climate, maintenance preferences, and exposure. The right material can make the installation easier to live with over time.
Common options include:
- Wood: Warm, classic, and highly attractive, but it needs regular sealing or finishing to resist moisture and sun damage.
- Fiberglass: Often chosen for weather resistance, insulation, and lower maintenance. It can mimic wood texture without the same upkeep.
- Steel: Strong and durable, though dents and scratches need prompt attention, and sun exposure can make some surfaces hot.
Also consider glass panels, privacy, insulation value, threshold design, and storm exposure. A beautiful door is only a good investment if it performs well where it is installed.
Keep the door performing after installation
After exterior door installation, check operation over the next few weeks. Houses move slightly with humidity and temperature, and new weatherstripping can compress. Small threshold or strike-plate adjustments are normal.
For long-term performance, keep these habits in mind:
- Clean and inspect weatherstripping seasonally
- Recaulk exterior joints when gaps or cracks appear
- Touch up scratches in painted or coated surfaces
- Keep the sill area free of debris
- Follow the manufacturer’s care instructions for finish and hardware
- Watch for early signs of water staining around trim or flooring
Final takeaway
Installing an exterior door is manageable for a careful DIYer, especially with a prehung unit, but accuracy matters at every stage. Measure the opening, repair damage, flash the sill, shim for plumb and square, fasten thoughtfully, and seal the perimeter so the door looks good and performs well. If the opening is badly damaged, structurally questionable, or subject to special code requirements, bring in a qualified professional before the project becomes a costly repair.